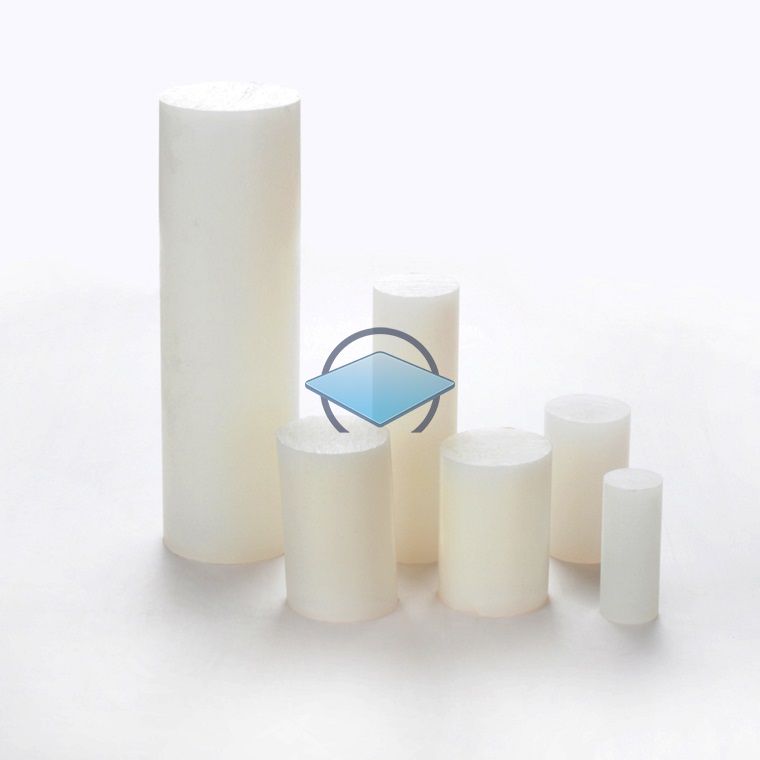
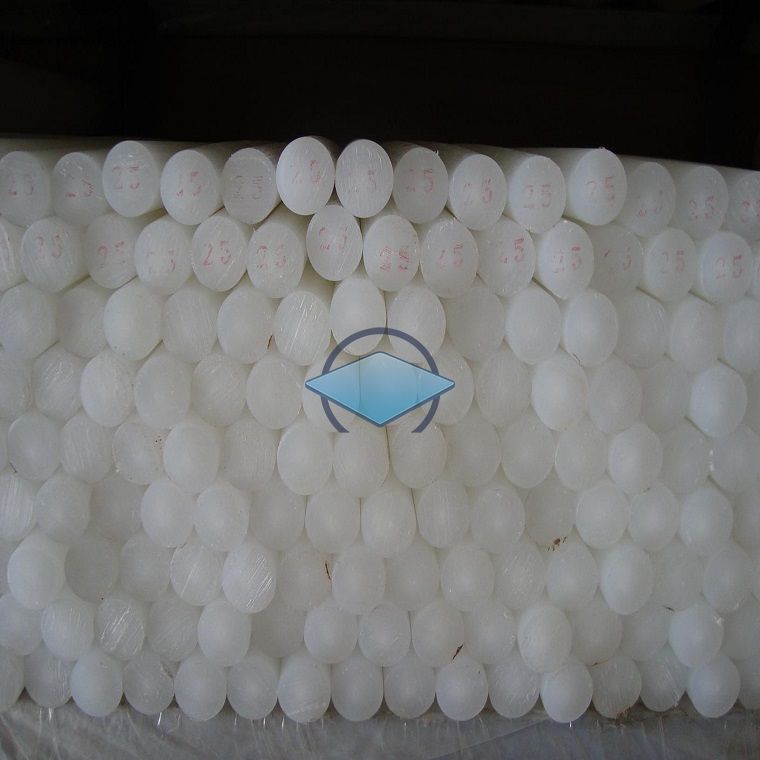
Step 1: Understand the types of plastic sheets that can be processed
Different plastics have different physical properties (hardness, toughness, melting point) and chemical properties, so the processing methods and effects are also different.
Plastic Type Characteristics Processing Experience Main Applications
Acrylic (PMMA) is recommended. High hardness, moderate brittleness, good melting cutting effect, smooth and transparent cross-section. Good experience, easy to cut and carve, strong detail expression. Signs, lightboxes, display stands, handicrafts
Attention to PVC (polyvinyl chloride). Containing chlorine, it may produce corrosive gases during processing, which can damage machines and health. The texture is relatively soft. Try to avoid using CNC engraving as much as possible. If necessary, ventilation and protection measures should be taken. Precision carving is generally not recommended
ABS is in good condition. Good toughness, high strength, but low melting point, easy to melt and stick to knives. The cutting surface is prone to burrs, and suitable parameters and cutting tools need to be selected. Model parts, shells, prototype production
PP (polypropylene) is generally used. Soft texture, extremely strong toughness, not easy to cut, and prone to deformation. Poor processing experience, prone to burrs and deformation, requiring sharp cutting tools and skills. Packaging and containers (rarely used for fine carving)
PC (polycarbonate) is good. Very high strength, impact resistance, but also high toughness, making it easy to stick to knives. More difficult to process than ABS, requiring tools with good rigidity and reasonable parameters. Protective cover, mechanical parts
PETG is good. Combining the hardness of PET and the toughness of PC, it is easy to process and not prone to cracking. The processing experience is good, it is a good choice besides acrylic. Food packaging, medical device casing
Recommended foam PVC/suede board. The texture is soft and brittle, very easy to cut, and does not damage the knife. Excellent experience, cutting like mud, but the surface is easily scratched. Architectural models, display boards, and signboards
Beginner's preferred suggestion: Starting with acrylic (acrylic), it is the easiest carving material to achieve the desired effect.
Step 2: Choose the appropriate cutting tool (milling cutter)
Cutting tools are the core of carving, choosing the right one can achieve twice the result with half the effort.
Single blade spiral milling cutter (preferred)
Advantage: Designed specifically for plastics. The single blade structure has a large chip removal space, which can quickly remove heat and prevent plastic from sticking to the cutting tool due to high temperature melting. Spiral grooves can smoothly "lift" chips.
Applicable: Almost all plastic cutting and contour processing, especially acrylic, can achieve smooth cutting edges.
Double edged spiral milling cutter
Advantages: Higher efficiency, suitable for high-speed machining and high requirements for sidewall smoothness.
Attention: The chip removal ability is slightly inferior to that of a single blade knife. If the parameters are set improperly (such as too slow feed), it is more likely to accumulate heat.
Multi edge milling cutter (≥ 3 edges)
Not recommended. Having too many blades and limited space for chip removal can easily accumulate heat in narrow grooves, causing plastic to melt and stick to the tool, resulting in rough surface of the workpiece and even tool breakage.
V-shaped knife (sharp knife)
Purpose: Mainly used for V-groove carving and creating three-dimensional character effects.
Tool material: Ordinary hard alloy (tungsten steel) can meet most plastic processing needs.
Step 3: Set key machining parameters
The core of parameter settings is "high speed, fast feed, and deep snack", with the aim of reducing heat accumulation.
Spindle speed (S): should be high rather than low. Usually set at 12000-24000 RPM. High speed can ensure smooth cutting and reduce material compression and frictional heat generation.
Feed rate (F): should be fast rather than slow. According to the diameter and material of the cutting tool, it is usually between 1000-3000 mm/min. Slow feed is equivalent to using a soldering iron to heat plastic, which can cause melting.
Cutting depth (Ap): should be small rather than large. Generally, the depth of a single cut should not exceed 1/2 to 1 time the diameter of the cutting tool. For example, with a 3.175mm knife, a depth of 1.5-3mm can be cut at once. Layered cutting is the key to ensuring quality and protecting the tool.
Radial cutting width (Ae): During precision machining, the step distance can be set to 10% -50% of the tool diameter.
Example parameters (for reference only, need to be adjusted according to actual situation):
Material: 3mm thick acrylic
Tool: Single blade spiral milling cutter, diameter 3.175mm
Parameters: Speed of 18000 RPM, feed rate of 1500 mm/min, cutting depth of 2mm (divided into 2 cuts)
Step 4: Processing operation skills and precautions
Fixed workpiece
Use carving fixtures, vacuum suction tables, or double-sided tape (for thin plates) to firmly fix the plastic board on the workbench to prevent movement during processing.
Cooling and lubrication
Principle: Prioritize "air cooling" (blowing) and avoid "water cooling" or oily cutting fluids as much as possible.
Blowing air: Use an air gun to continuously blow air towards the cutting point, which can cool the tool and workpiece, and timely blow away the chips to prevent secondary melting and adhesion. This is the most effective and clean cooling method for processing plastics.
Why not use water: Some plastics (such as MDF based composite boards) can absorb water and deform. Cutting fluid may cause chemical effects or contamination on plastic surfaces.
Path Design (CAM Programming)
Forward milling vs reverse milling: Prioritize forward milling to obtain a smoother sidewall surface.
Introduction and introduction: Reasonably set the cutting in and out methods to avoid leaving knife marks on the surface of the workpiece.
Layered cutting: For thicker sheets, it is necessary to set up layered cutting and not attempt to achieve a one size fits all solution.
Step 5: Common Problems and Solutions
Possible causes and solutions for the problem phenomenon
Edge melting, low drawing speed or slow feed, resulting in heat accumulation, increased speed and faster feed; Check if the cutting tool is sharp and replace it with a single blade spiral milling cutter; Strengthen air blowing cooling.
Cutting edges with burrs and tool passivation; Improper processing parameters; Replace sharp new cutting tools with material properties (such as ABS); Try faster feed or deeper snacks; For ductile materials, consider using frozen spray to make them brittle.
The surface has vibration marks, and the tool clamping is too long and the overhang is too long, causing shaking; Or the feed rate may be too fast to shorten the tool overhang; Ensure that the clamp is clean and tightly clamped; Reduce the feed rate or increase the rotational speed appropriately.
The cutting tool has broken and the cutting depth is too deep; Feed too fast; Poor chip removal and tool jamming reduce cutting depth and feed rate; Check the path to ensure smooth chip removal; Use thicker cutting tools.
Workpiece warping, unstable movement and fixation; Strengthening fixation through stress release during processing (such as adding pressure plate points); Check whether the board itself is flat; Optimize machining paths and parameters to reduce cutting forces.
Summary
The key to successfully using a carving machine to process plastic boards is:
Choose the right material: start with acrylic.
Choosing the right tool: A single blade spiral milling cutter is the king.
Set the parameters correctly: Remember "high speed, fast feed, deep snack".
Cool down well: Strong blowing is the best partner.
Fixed firmly: This is the foundation of safety and accuracy